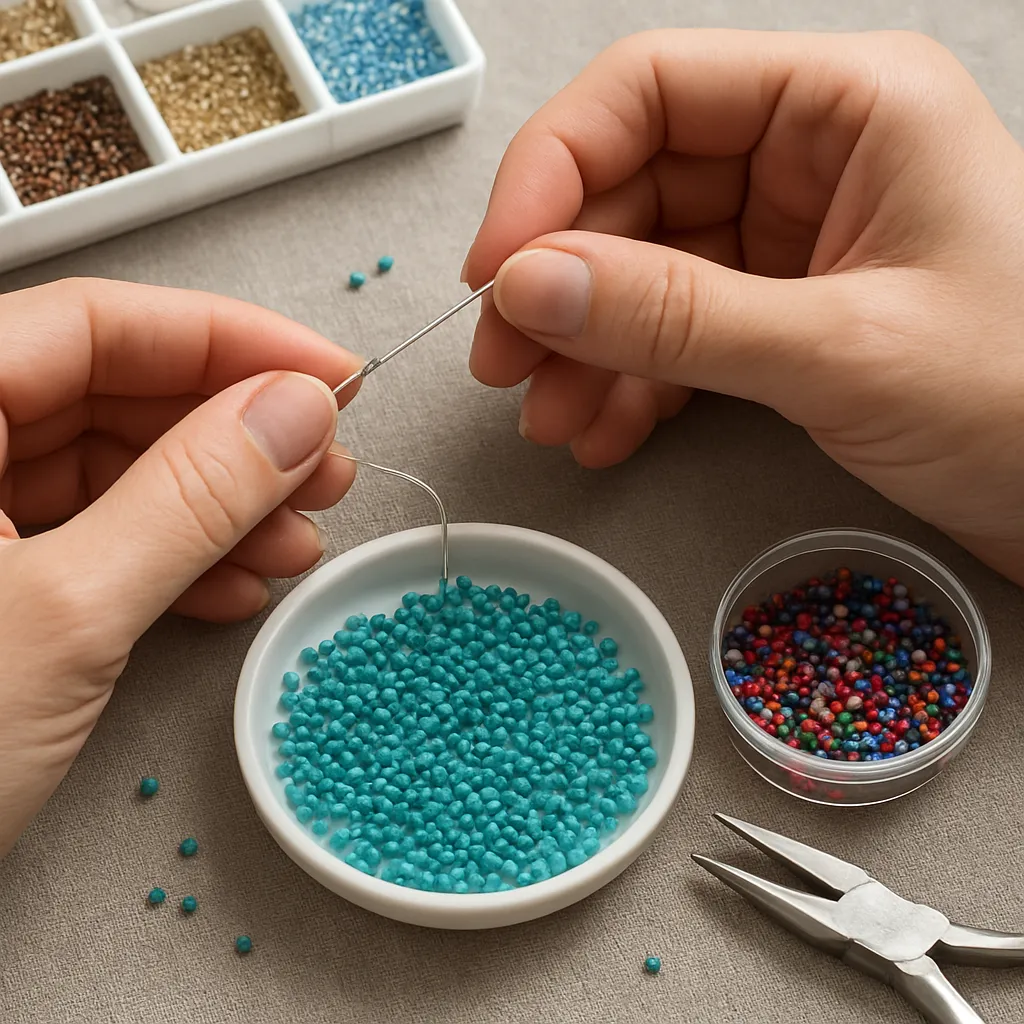
Tiny seed beads can turn a simple strand of thread into jewelry that shimmers like fabric, miniature mosaics that read like paintings, and embellishments that define the line between craft and couture. Working efficiently with these minuscule materials is less about rushing and more about purposeful choices: selecting the right tools, managing your body and workspace, setting up repeatable processes, and developing touch. The reward is a workflow that feels smooth and confident, where beads flow from tray to needle to design with minimal friction and maximum control.
Understanding Seed Beads and Selecting the Right Materials
Seed beads are typically measured in aught sizes such as 11/0, 15/0, and beyond; the higher the number, the smaller the bead. For truly tiny work, 15/0 is the common threshold, with 18/0 and historical micro sizes appearing in specialized or vintage contexts. The most impactful choice you can make for clean, accurate stitching is bead uniformity: cylindrical beads (like Japanese Delicas) provide crisp geometry for flat stitches and portrait-style beading, while round rocailles offer a softer drape and a more organic, textural result. Charlotte or true-cut beads (with a single facet) add sparkle without significantly changing hole diameter, yet they can slightly increase edge abrasion on thread if tension runs too high.
Surface finish influences more than appearance. Matte coatings grip a bit more, potentially stabilizing stitches, whereas glossy or AB finishes slide more easily under the needle. Metallic and galvanized finishes can vary in colorfastness; contemporary premium lines have improved, but test by dampening a cotton swab and rubbing a spare bead to check for dye transfer. When a project will receive frequent wear—like bracelets and garment embellishments—favor plated finishes with known abrasion resistance or metal-lined beads from reputable manufacturers. Differing brands (Miyuki, Toho, Preciosa) carry subtle variations in hole size and shape; mixing them is possible, but do a small swatch to confirm stitch height compatibility.
Because tiny beads accentuate every irregularity, inspect for burrs or underfilled glass at the edge of the hole. A few culled beads per gram is normal; keep a discard dish handy and resist the temptation to force problematic beads onto the thread. Consistency at this stage pays off later by preventing snags and rework.
Finally, learn your quantities. Projects written in grams, hanks, or counts can be confusing, so internalize a quick field estimate: a gram of 15/0 Delicas contains roughly 250–300 beads; round 15/0s often run higher per gram due to thinner walls. Translate pattern requirements into grams plus a buffer for sampling, tension tests, and finishing passes.
Tools, Workspace, and Body-Friendly Methods
Deliberate tool choices remove friction at every step. With tiny holes, needle and thread selection is foundational. Size 12 beading needles can pass through 15/0 beads multiple times in most brands; for dense weaves or final reinforcement, keep size 15 needles at hand. Big-eye needles are excellent for pre-stringing beads but are often too thick for multiple passes in micro sizes; use them only for staging sequences, then switch to fine needles for weaving.
Thread choices branch along two paths: braided gel-spun polyethylenes (FireLine, WildFire) and conditioned nylons/polyesters (Nymo, KO, One-G). Gel-spun threads resist abrasion and are less elastic; they excel in structures requiring crisp edges, bezels, and right-angle weave. Conditioned nylons possess a gentler hand and lend themselves to supple drape, netting, and fringe. Whichever you choose, test knot security and melting behavior on scraps. Note that some gel-spun threads can be carefully fused with a heat tool; do not attempt this near beads that scorch, and keep ventilation in mind.
Conditioners like beeswax or microcrystalline wax reduce fray on nylon-based threads and offer a subtle glide. Use a light touch: too much wax attracts dust and can build up in the bead holes. For ultra-tiny Charlotte work, a near-frictionless pass facilitates neatly seated stitches, so condition sparingly and reload as needed.
A bead mat with slight pile (Vellux-style) prevents runaway beads and allows you to roll a bead onto the needle rather than stabbing at it. Triangular trays make fast work of pouring and corraling small quantities; a gentle tap settles beads hole-up, optimizing pickup. Keep a micro scoop or narrow straw segment nearby to shuttle beads between dishes without spillage.
Light your workspace with diffuse, high-CRI illumination (5000–6500K daylight spectrum) aimed from two directions to minimize shadows. A ring light or a task lamp with side fill works well. When scale shrinks, amplification of sight is not optional—clip-on lenses or optivisors save your neck and eyes. Purposeful magnification enables accurate placement and reduces guesswork, a direct route to better outcomes and fewer do-overs.
Posture and reach factor heavily into endurance. Position the work so your forearms rest comfortably on the table, shoulders relaxed, and the bead line centered under your dominant eye. Incorporate brief movement breaks; tiny, repeat motions can strain tendons when performed without pause. Strategic ergonomics convert hours of effort into hours of pleasure.
Last, invest in deliberate organization. Label tubes or vials by size, finish, brand, and lot number. Store active colors in a low-profile tray that fits under your light, with lids nearby to shut during breaks. Keep dedicated tins for culls, spare needles, thread pre-cut lengths, and completed components. A clean reset at the end of each session makes the next session start fast.
Core Techniques and Motion Economy
Threading, Handling, and Pickup
Clip thread at an angle and flatten the tip with your fingernail to ease through fine needle eyes. If eyesight is a hurdle, use a wire loop threader, then switch to your project needle to maintain passability through small holes. Pre-thread multiple needles with working lengths so you can switch immediately when a strand ends, avoiding the momentum-killing search for tools mid-flow.
Develop a gentle pickup motion: point the needle slightly downward, contact the side of a bead, and roll it onto the tip as you lift. This reduces pressure on the bead rim and lowers the chance of chipping. For quantity loading—stringing beads for crochet or fringe—a mini bead spinner with micro bowl helps; size your needle and thread combo so beads climb readily without forcing.
Foundational Stitches with Tiny Beads
Peyote stitch showcases the precision of micro beads. For even-count peyote, a single turn at the end of each row keeps rhythm predictable. For odd count, master a clean turnaround or use a hybrid start (ladder stitch foundation with a brick turnaround) to avoid clumsy figure-eights. Circular peyote demands strict step-ups; mark them with a contrasting bead every few rounds to avoid losing track.
Brick stitch excels in edging and architectural shapes; use a taut first row anchored to ladder stitch for uniform spacing. Herringbone (Ndebele) with 15/0s creates a tightly articulated ribbon; slight variation in thread tension determines whether it lays flat or curls into a tube. Keep the thread path compact and avoid unnecessary detours; micro beads amplify every extra pass into noticeable bulk.
Right-angle weave (RAW) in micro sizes can feel fiddly; stabilize by reinforcing units as you go rather than waiting for the end. For cubic RAW, keep face transitions crisp by treating each corner like a hinge—rotate the work rather than contorting your wrist, maintaining bead seating and even stitch architecture.
Loomwork and Bead Embroidery at Micro Scale
Loom users should calculate warp density for bead size: for 15/0 Delicas, expect more warps per inch than for 11/0; test with a short warp before committing. A shedding device expedites row placement, but for micros, hand separation can grant finer control. Weave in weft tails through several rows and return passes for strong anchor points.
Bead embroidery benefits from a crisp ground fabric. For tiny beads, use a dense, stable foundation (non-woven bead backing, fine-weave linen, or coutil) and a compact stab stitch: pass the needle straight up and down to avoid angled holes that distort the bead alignment. Outline key shapes with backstitch, then fill using couching or micro-pavé patterns for flawless coverage.
Bead Crochet and Other Micro Methods
For bead crochet with 15/0s, pre-string the entire sequence; add 10–15 percent extra for security. Use a small steel hook sized to the thread (often 0.5–0.75 mm) and maintain uniform placement of the working loop behind the newest bead. A silicone ring or grippy glove fingertip helps manage thread without over-squeezing. When building ropes, start with a tight magic ring of 6–8 beads to avoid a gaping center.
Speed Without Sacrificing Quality
Speed emerges from the purposeful design of your process. Group similar tasks together—cutting multiple thread lengths, staging color blends, assembling clasp components—so that your hands stay in one mode for longer stretches. This reduces context-switching fatigue and protects your flow. Think of your practice as a living workflow: analysis, preparation, execution, and review.
Counting strategies tame complex colorwork. Pre-count beads into tiny piles of 10 or 20 for quick pickup; the visible depletion warns you when a section nears completion. If following a chart, use a magnet board or a paper frame window to isolate active rows. Call out numbers softly as you place beads—auditory reinforcement diminishes skip errors when fatigue sets in.
Error-proofing pays more than heroics. Add a temporary stop bead at the tail when starting, preventing beads from slipping off as you manipulate early rows. In long sessions, insert a lifeline thread through a completed baseline so an accidental tug won’t unravel hours of work. When you must backtrack, unweave rather than cut whenever possible; intact thread preserves structure and avoids fragile splices.
Quality hinges on stitch consistency and reliable tension. Establish a reference swatch before each new combination of bead brand, finish, and thread. Measure stitch height over 10 rows to understand natural compaction. Small calibration rituals—a few test rows at session start—restore hand feel. Treat this as calibration, not wasted time; it prevents uneven bands and warped panels.
Time yourself compassionately. Note rows per 15 minutes instead of chasing absolute minutes per project. A gentle metronome or background track with steady tempo can support rhythm; allow it to guide, not to push. Structured breaks (for instance, 50 minutes on, 10 minutes off) reclaim energy and prevent sloppy end-of-session mistakes.
Thread Management, Joins, and Endings
Use working lengths you can manage without constant rethreading—typically 45–60 cm for micro work. Longer lengths create twist and fatigue. When joins are necessary, plan them in low-visibility zones or under overlapping passes. For nylon-based threads, a weaver’s join (interlacing new and old threads along several beads with staggered half-hitches) provides strength without bulk. For gel-spun threads, avoid bulky knots; weave tails in opposite directions with multiple passes and minimal exposed arcs.
Invisible endings start long before the last stitch. Leave enough tail to weave a well-considered exit path. Travel through beads that are part of non-flexing geometry—corners or bezels—so the tension of the buried tail has structural support. Trim tails only when they are truly locked, and, if safe for your materials, briefly touch with a thread zapper to mushroom synthetic ends. Adhesives like fabric fray sealants are best reserved for cases where the structure allows it, as they can wick onto beads and alter sheen.
Durability relies on reinforcement at stress points: clasp loops, pendant bails, and hinges. Add extra passes through these beads, alternating entry direction to disperse load. When finishing, run a soft burnishing cloth over the work; tiny micro-fibers align and set the beads while revealing any threads that need an extra tuck. The goal is lasting durability without visible bulk.
Pattern Design and Color Strategy for Tiny Beads
Micro scale shifts how the eye blends color. Four or five 15/0 beads across read as a pixel to a viewer at arm’s length, so leverage dithered gradients: mix two colors at 25/75, then 50/50, then 75/25 to transition smoothly. Cylindrical beads generate razor-fine diagonals ideal for typographic monograms or miniature florals; round rocailles bring sparkle that camouflages tiny counting irregularities.
Value contrast matters as much as hue. Test patterns in grayscale to verify legibility before committing to a full piece. For portraits and landscapes, assemble a palette in steps of value rather than steps of color; high-sheen finishes can read lighter than their hue suggests. Incorporate occasional accent beads—a single metallic or cut bead in a field of matte—like punctuation for light.
Scale patterns thoughtfully. A design intended for 11/0 beads shrinks roughly 30–35 percent when rendered in 15/0s; line weights and negative space narrow. Redraw or rechart, not merely resample, to maintain clarity. If you prefer digital tools, export at high resolution and zoom in during work; otherwise, print a large, high-contrast chart and mark your progress with a fine-point pen.
Quality Control, Finishing, and Care
Establish a straightforward QC ritual. At the end of each session, check edges for gapping, pull lightly along stress lines, and lay the piece flat to detect cupping or ruffling. If distortions appear, examine stitch direction and tension around corners. For flat peyote or brick panels, a gentle steam block—no direct water contact—can relax out micro waves; protect finishes with a pressing cloth and keep iron faces at a safe distance.
Edge treatments lock in structure and contribute polish. A brick-stitch border stabilizes peyote panels; picot edging creates a delicate lace for earrings and pendants. For wearables, reinforce clasp areas and use wire guardians or seed bead loops reinforced with multiple thread passes. When setting focal stones with micro bezels, alternate reinforcing rounds with tension checks to prevent bead fracture under compression.
Caring for micro-beaded items is mostly common sense. Avoid exposing pieces to perfumes, hairspray, and chlorinated pools. Wipe gently with a soft cloth after wear to remove skin oils and environmental particulates. Store flat, wrapped in acid-free tissue, or hang earrings so that fringe isn’t compressed. For dusty display pieces, a bulb blower or a soft, clean makeup brush removes debris without catching threads.
Troubleshooting Common Problems
- Thread kinking: Let the piece dangle and allow the needle to spin; this unwinds twist introduced by repeated turns. Switch to shorter working lengths or a slightly stiffer thread.
- Fraying at the needle eye: Re-thread and trim the worn segment; if persistent, choose a finer needle or condition the thread. Check for a rough needle eye and replace if burred.
- Bead cracking: Reduce plier use near beads; if you must apply leverage, cushion with nylon-jaw pliers. Re-evaluate pass count through tight beads and redirect reinforcement to adjacent beads.
- Uneven edges in peyote: Add a stabilizing border in brick stitch and re-tension by weaving a perimeter pass. Confirm you’re not skipping step-ups in circular pieces.
- Curling herringbone: Check pair tension and ensure consistent bead size; mixing brands can introduce subtle mismatch that exaggerates curl.
- Color rub-off: Halt immediately and test all at-risk colors. Replace compromised beads and favor color-stable finishes for high-contact zones.
Sustainability and Cost Efficiency
Micro-beading can be material-frugal when approached thoughtfully. Buy staple colors—black, white, metallics—in larger quantities to ensure dye-lot continuity; for accents, purchase smaller quantities but label lots for future matching. Save test swatches; they become a personal catalog of thread-bead interactions. Repurpose culled beads for textural embroidery where alignment is forgiving. Keep solvents, sealants, and heat tools minimal; they reduce waste and lower your studio’s environmental load.
Organize leftovers by finish families rather than random color; when you design gradients or mixes, these sorted bins accelerate experimenting without fresh purchases. Consider collaborative swaps with local beaders for odd grams and discontinued lots to fill gaps creatively.
Practice Plans and Skill Building
Structured practice accelerates mastery. Begin sessions with five-minute drills: ladder stitch foundations, even-count peyote rows, and clean step-ups. Follow with micro RAW cubes to prime spatial awareness. Track subtle changes in stitch height as your hands warm; this builds intuitive precision.
Once warm, focus on a single constraint per day: alignment, speed without tension drift, or color accuracy under different lighting. Record insights in a notebook—needle sizes that glide with specific beads, thread lengths you manage best, conditioners that help or hinder. Over weeks, your personal playbook supersedes generic advice and compounds your efficiency.
Occasionally, challenge yourself with a tiny project on a deadline, like micro earrings or a ring band. The goal isn’t haste but decisiveness: picking a palette, staging materials, working steadily, and finishing cleanly. Debrief the process afterward; identify the moments where time slipped away and design a small adjustment for next time.
Inspiration and Applications
Tiny seed beads thrive where detail matters. In jewelry, they create bezels around watch crystals and cabochons that would overpower larger beads. In couture, micro-beaded vines and veils bring soft gradients and sparkling highlights that read luxuriously under stage lights. In bead embroidery, they fill gaps between larger elements, creating a seamless surface. Architectural motifs, micro-typography for charms, miniature landscape pendants, and pixel-art pins all leverage the tiny pixel size of 15/0s and beyond.
Beyond adornment, tiny beads can reinforce seams as decorative topstitching on hand-sewn garments, trim couture buttonholes, or embellish knitwear and crochet. They excel in restoration: recreating vintage trims where scale fidelity is vital. As gifts, small-format projects—bookmark tassels, cufflinks, phone charms—offer high impact with modest material use, perfect for experimenting with new palettes or finishes.
Putting It All Together
Working efficiently with tiny seed beads is a symphony of small decisions. Choose uniform beads suited to the stitch. Match thread and needle for glide and control. Prepare a bright, comfortable work area where posture supports, not punishes. Adopt movement patterns that conserve effort and enforce clean paths for the needle. Establish routines that build confidence—calibrating tension, batching tasks, testing finishing methods. Each element shaves a few seconds of friction and rescues a few beads from the cull dish; together, they transform your practice into a smooth, enjoyable craft. With patience, curiosity, and a commitment to mindful process, the smallest beads reward you with the grandest detail.
